All that had to be done with the oars was add the leathers which was a lot easier than anticipated.
Monday, September 26, 2011
Mast, etc.
Finishing the mast, boom and yard (for balanced lug) went pretty smoothly. I made a couple of changes, though, from plan. First, I was a little worried about the strength of the mast scarf joint so a couple of dowels were drilled and epoxied into the joint.
Because of the way I plan to rig the balanced lug, I decided to form a round rather than square mast, as supplied by CLC. After some calculations I planed enough of the square corners and then the resulting angles off the mast to create a close approximation of a round mast. I ended up with a little less than a two inch diameter, which may or may not be strong enough for 57 square feet of sail. If it doesn't work (punt) there is a plan for making a more stout mast next year.
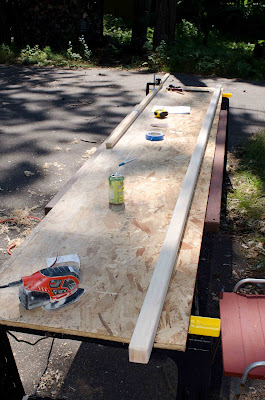
One thing I discovered was that the use of these V-shaped rests really help when planing and sanding to steady the spars.
No epoxy was applied to the spars. When varnishing the spars they rested on a couple of half inch dowels to keep them off the bench. That way I could varnish the entire spar at once instead of in two or three sessions. Three coats of varnish and done.
A belated update
I've been working all year on the boat but have been remiss in updating this blog, so here is the progress I've made on my Skerry:
When I resumed work in the spring 2011 I finished sanding the epoxy coats on the interior and began to sand the epoxy on the exterior of the hull which proved to be a lot quicker and easier.
After sanding, I applied two coats of primer and then three coats of Interlux Brightsides paint to the hull, with sanding in between each coat. I thinned the paint with 10% thinner, applied with a thin foam roller and tipped all bubbles with a foam brush. This process seemed to work pretty well with minimal runs and brush marks.
I made the decision to purchase the sail kit, but decided to go with a balanced lug rig sail instead of the sprit sail. For this configuration the sailmaker recommended that the sail be lowered on the mast and that the standard mast be raked 7 degrees aft to keep the sail CE directly above the daggerboard.
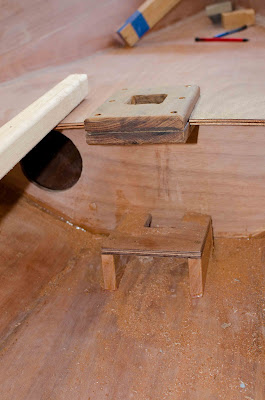
To accomplish that end I installed the mast step per plan, then designed a new mast partner on the forward seat lip, moving the hole aft about 1.2 inches which will rake the mast the required amount. Once glued and screwed in place it's really solid.
Next I applied three coats of varnish to the interior.
Subscribe to:
Comments (Atom)


